
And for my bloggy buddies...
this is a set of flowers that you should
TRY before you DIE...cut. Lol.

**********************************************
Lollypop flower

Cut different circles in different colours, layer and glue layers together. Finish off with a button. Here is a print and cut template for those without a cricut. These look great cut by hand too.

******************************************************
Crochet Flower

Choose a 15-20 cm piece of crochet ribbon or lace. Looks best with a scalloped edge.

Thread the needle through the start a few times and wind in and out flat edge of ribbon. Pull tight and form into a circle shape. Sew a few stitches to hold it in place. Add an embellishment.
*****************************************************************
Sequin Ribbon Flower

Find the metallic ribbon off-cuts to sequin shaping.

Trim pieces with small scissors into the shape of a flower. Use clear double sided tape to affix. Looks great with small hot fix gems inside each section.
Try: Layering different and same configurations/sizes.
********************************************************
Rolled flower

Take a strip of lightweight paper 8cm x 30cm.
Roll into a long tube. Use double sided tape to adhere. Scrunch up the roll a few times, even run some ink along one crinkly edge. Now using a small foam square, roll into a rosette shape starting from the middle.
*********************************************************
For Rolled Ribbon Flowers
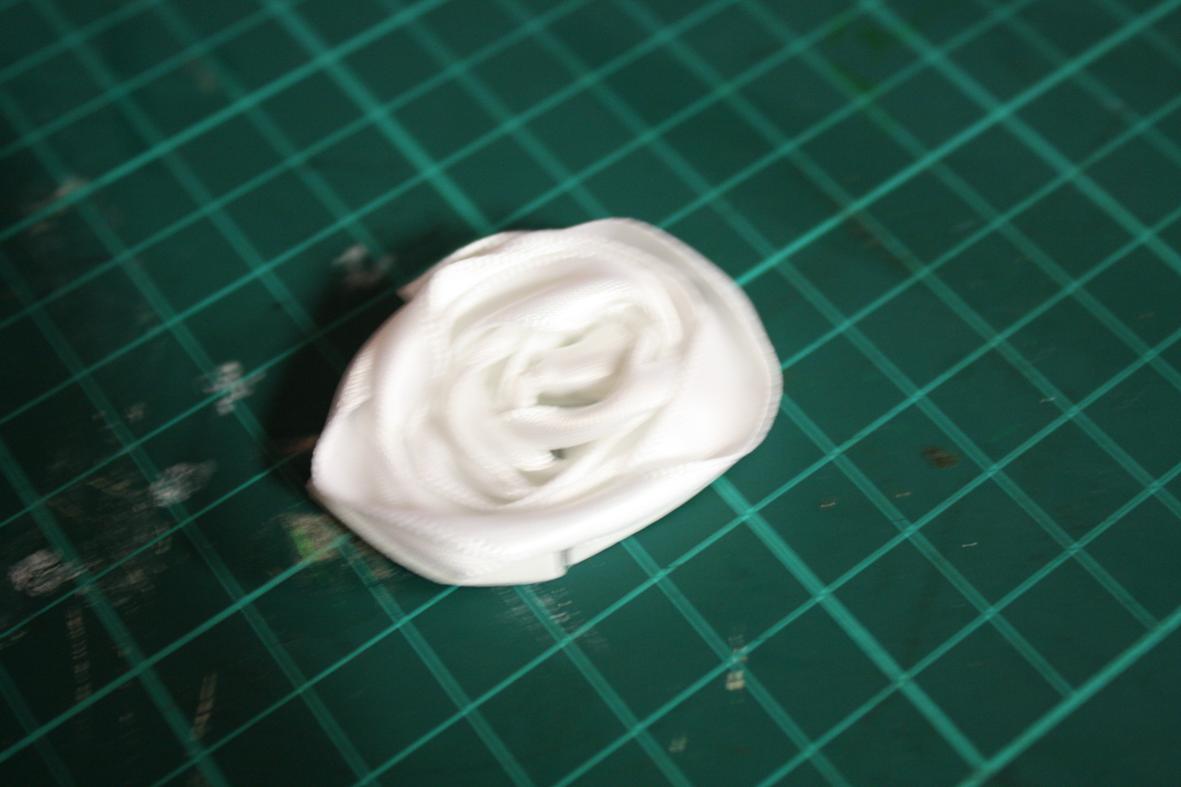
Cut a 25cm length of ribbon. Tie a knot in one end. Place between two small pieces of off cut cardboard and hold securely with your thumb and index.

Wrap ribbon round the inside twisting every so often while squeezing cardboard together. When ribbon is finished wrapping, carefully slide onto a large square piece of foam and trim edges. Try: Inking the ribbon in rainbow fashion with a mix of colours before rolling.
******************************************************

For a great photo edger, cut a large flower in half and give it a lift with ink or stickles.
Try: Embossing a large hand cut flower
************************************
Washi Tape Flower

Use washi tape, circling it on a small circle of paper and pleating it round and round. Easy Peasy!
******************************************************
Reverse Emboss Flower


This makes a clever play on the eyes, as some of the paper is embossed but it is on a flat surface. Turn the page over, draw a shape, then place the indented part of the emboss folder underneath and use a stylus to gently rub the pattern only in that desired shape area. Turn the layout the right side up, ink gently over the raised embossed parts and hand draw an outline.
************************************************
Large Tag Flower

Cut ten tall tag shapes.
If you have a tag punch, punch then trim off side edges to make a tall tag. Looks great with hole in the end too.

Curl and fold each petal and fix onto a square piece of foam. Add bling in the middle.

Try: Inking, curling, distressing edges.
Adding more smaller layers.
**********************************************************
Small Tag Flower

Cut ten short tag shapes.
If you have a tag punch, punch then trim off side edges and some of the base.

Snip a slot in each petal about half way up.


Fold each petal and fix with a dab of fast drying glue.
Make the 5 outer petals more loose and tighten the overlap on the inner petals. Fix onto a square piece of foam.
Add bling in the middle.
Try: Inking, curling, distressing edges.
********************************************************
Actetate Flower

For an effective subtle flower, punch some flowers out of acetate/acrylic/plastic overhead sheets then use STAZON colours to ink lightly around edges. Use a clear double sided tape to affix and place a brad/CANDi in the centre.
Try: Embossing the flower shapes with cuttlebug before fixing together.
Paper Stamped Flower

Stamp white paper flowers with STAZON and ink in desired colours. Layer as wanted. Fix together with brad.
*********************************************************
Pinched Circle Flower

Cut five or six circles.
Pinch each circle an an edge and
layer pinched shapes onto foam square.
To add a large circle bling or button, snip into centre joins.
Try: Layering over under, layer side together. Try shaping end of petals with scissors into a rounded point and colouring like a frangipani. Distressing, sanding, mixing colour patterns.
****************************************************
Acetate and Paper mix

Stamp a small square of acrylic with a favourite roundish stamp, sentiment. Trim acrylic sheet and then place on top of paper flower with double sided clear tape.
*******************************************************
Tubular Flowers

Roll small tubes of thin paper up, adhere with a strip of double sided tape, centre on a foam square and then trim to correct size. Try: Layering, adding brads, different shapes.
**********************************************************
Teased Ribbon Flower

Teased out ribbon and hand made brad using i-top. Use lengths of raffia tied in the centre and then frayed out, trimmed to form a circle shape, add brad.
*****************************************************
Peekaboo photo flower

Draw a circle, cut an inner circle and fray, rip or cut to the edges all the way around. Then curl back pieces to reveal a photo underneath.
********************************************************
Layering Different Flowers
Layering Different Flowers

Choose a variety of flower cuts, layer in contrasting colours and then add some Dimensional Magic or Glossy Accents for lift and sheen.
*******************************************************
Paper Roses


Here is a print and cut template
of a good five petaled flower.
*******************************************************
Thanks for such a great time ladies... If any of you finish the layout we started and show Gina in the Stampers Den... There will be a prize waiting for you!!!

Meanwhile, I am now planning the Ocean themed layout workshop as requested and some Cricut workshops too. Can not wait to see you all again.